How to run the model on AnyLogic Cloud
AnyLogic is integrated with AnyLogic Cloud - a web portal that hosts simulation models and allows you to run your models online and share them with other users.
AnyLogic models hosted at AnyLogic Cloud run on a server and do not require AnyLogic to be installed on the end user's computer. The execution process is visualized in a web browser.
To get a full experience with AnyLogic Cloud, you need to create an account.
1. Open the Anylogic cloud sign up page by doing either of the following:
o Navigate to Anylogic Cloud website https://cloud.anylogic.com/.
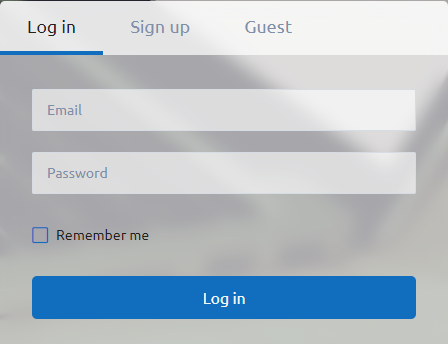
o Click the  button in the toolbar to open the Log in to AnyLogic Cloud dialog box. Click the Sign Up... link.
o If you have the Export Model To AnyLogic Cloud wizard open, you can click the register new account link in the wizard window.
2. Provide your e-mail address. Note that a valid e-mail address is required.
3. Type and confirm your password in the Password and Confirm password fields respectively.
4. Click the Sign up button.
5. AnyLogic will send a confirmation e-mail to the address that you provided. Click the link contained in the e-mail to verify your account and finalize the sign up process.
Once this process is complete, open the log in page in your browser. After providing your account credentials, click the Log In button.
Once you are logged in, click on the url shown below and you will then be transferred to the experiment screen, where you can run the model.:
In the experiment screen, you can run experiments in AnyLogic Cloud and view the results

The experiment toolbar provides a set of buttons through which the basic tasks can be performed. In the sidebar, the existing model versions and experiments are created and listed. Selecting an experiment in the sidebar, opens the experiment screen and displays the parameters settings.
Inputs: Lists the model parameters and allows editing the values.
Outputs: Presents the model version’s results, after an experiment has been run. If the experiment has not been run yet, the section appears blurry.
Sidebar: It is displayed on the left hand side of the screen. On the upper level, the model version is listed. On the lower level, the additional experiments created for the each version are listed.
To show/hide the sidebar: Click the  button in the top-left corner of the experiment screen.
To expand or collapse the list of experiments for the model version: Click the model version node in the sidebar.
Running the Experiment
To run the experiment
Click the  Run button in the experiment toolbar or the run link in the Outputs section of the experiment dashboard.
Note: Since experiments are executed on a remote server, you do not need to stay on the experiment page until the experiment is finished. You can freely leave the experiment page (for example, to run another experiment) and return to it at a later point.
The experiment execution progress is visualized via the progress bar in the Outputs section and via the circular indicator next to the experiment's name in the sidebar.
To modify the experiment's default input values
In the Inputs section of the experiment, provide the input values. The  Save inputs button on the experiment toolbar will become active.
Click the Save inputs button. The input values will be saved and used as the new default values for the experiment.
If the input values that you have provided differ from the experiment's default values, you can discard the changes thus reverting the input values to their default state.
To discard changes in the experiment's input values
Click the  Discard changes button. The input values will be reverted to their default state.
To create a new experiment
Click the  button in the model version node. The New experiment dialog box opens:
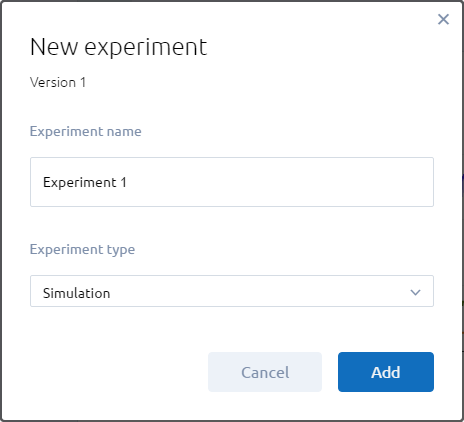
Type the name of the experiment in the Experiment Name entry and select the simulation Experiment Type. Then click the Add button.
Experiment Toolbar

 | Run the experiment (without animation). If the experiment has already been run, the button is inactive and is displayed as |

| Play vector animation |
 | Save inputs for the current experiment |
| Discard changes in inputs (restore the inputs to the previously saved values) |
 | Compare experiment runs |
 | Export to Excel |
Additional Control Elements:
The  button opens the additional commands menu:
 | Create a copy of the experiment |

| Export inputs |

| (the command is available for public models only) Add a copy of the model to the My models section |

| Share the model |

| Model info (Navigate to the model screen) |
Model Animation
Select the experiment in the sidebar and then provide the input values that you wish to run in the model. Then click the “Play vector animation” button found in the experiment toolbar. A pop-up window showing animation will open.
On the bottom part of the animation screen, you will find the available playback controls:

| Pause animation. |

| Resume animation. |

| Stop animation and close the animation window. |

| Stop animation and close the animation window. |

| Set the real time mode to the default scale. |

| Slow down animation by decreasing the scale of model time to real time. |

| Displays the current scale ratio of model time and real time. You can change the current value using the and  buttons. Displays buttons. Displays  if animation is running in virtual time model. if animation is running in virtual time model. |
| Speed up animation by increasing the scale of model time to real time. |

| Switches animation to the virtual or real-time time mode. If virtual time mode is set, the current scale ratio of model time and real time is displayed as . To turn the virtual time mode off, click again or slow the animation down by clicking . |

| (displayed in the windowed playback mode) Switch the playback window to fullscreen mode. |

| (displayed in the fullscreen playback mode) Switch the playback window to windowed mode. |
Model Comparison
Click the  Compare button in the experiment toolbar. The Comparison screen will open and the selected experiment will appear in the Compare experiments section of the sidebar:
To include another experiment to comparison, select the check box next to the experiment's name. The experiment will be added to the Compare experiments section (to exclude an experiment from comparison, clear the check box next to the experiment's name).
Сlick the Exit Comparison button in the experiment toolbar.
Note: Should you need additional help on this tutorial, please visit the AnyLogic tutorial website:
https://help.anylogic.com/index.jsp?topic=%2Fcom.anylogic.help%2Fhtml%2Fstandalone%2FExport_Cloud_Tutorial.html
Source: AnyLogic tutorial : https://help.anylogic.com/index.jsp?topic=%2Fcom.anylogic.help%2Fhtml%2Fstandalone%2FExport_Cloud_Tutorial.html